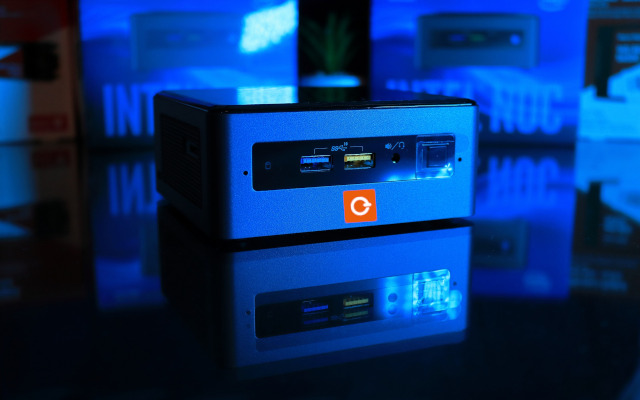
Due to their very low power consumption, Raspberry Pis are the best solution for using eBlockerOS in continuous operation. But there are also energy-saving ThinClient PCs that are available second-hand for as little as $30. They are an excellent alternative to the Raspberry Pi and eBlockerOS can be booted directly on them. This article describes how you can install eBlockerOS on a ThinClient (or any other PC hardware) and convert the computer into an eBlocker. You do not require a separate operating system such as Windows, Linux or macOS for the ThinClient.
eBlockerOS can be installed on practically any (Intel x86 compatible) hardware – and can also boot directly from it without an additional operating system. All you need is a free software tool and at least 8GB of data storage, such as a USB stick, HDD or SSD.
We have tested the following instructions with an HP T620 ThinClient. However, any other PC hardware with 64bit x86 architecture will work just as well:
- Get a ThinClient. For example on eBay for around $30:
- Download the eBlockerOS x86 boot image: Boot-Image Download
SHA256: fea5f7da584f6f81830be364d7803b3a1e5f707498327ebbd6e491ab9ee4d0ed - The disk image must be installed on the USB stick with a program such as balenaEtcher. BalenaEtcher is free to download for Windows, MacOS and Linux here. The image does not need to be unpacked for balenaEtcher.
Attention: Make sure that you have selected the correct target drive in balenaEtcher, as all data on it will be overwritten. - If you have used a USB stick, you can plug it into a USB port on the front of the ThinClient. Otherwise, install the HDD or SSD hard disk according to the ThinClient instructions.
- First connect the ThinClient with the network cable and then connect it to the power supply. Wait 5-10 minutes until the eBlocker has started and is ready for use.
- If the PC does not boot, check the ThinClient is also configured to boot from the connected USB stick or HDD/SSD drive. This may require settings in the BIOS of the ThinClient. You can find out more in the ThinClient user manual.
- It is not necessary to connect a monitor to the PC. However, using the monitor connection for the very first start-up can be useful to observe the boot process and to quickly read the IP address of the eBlocker.
- Then follow the Setup Instructions for the eBlocker configuration.


