eBlockerOS Download
To ensure your network is protected 24×7, eBlockerOS must run continuously to permanently monitor all network traffic. There are three alternative installation options for this:
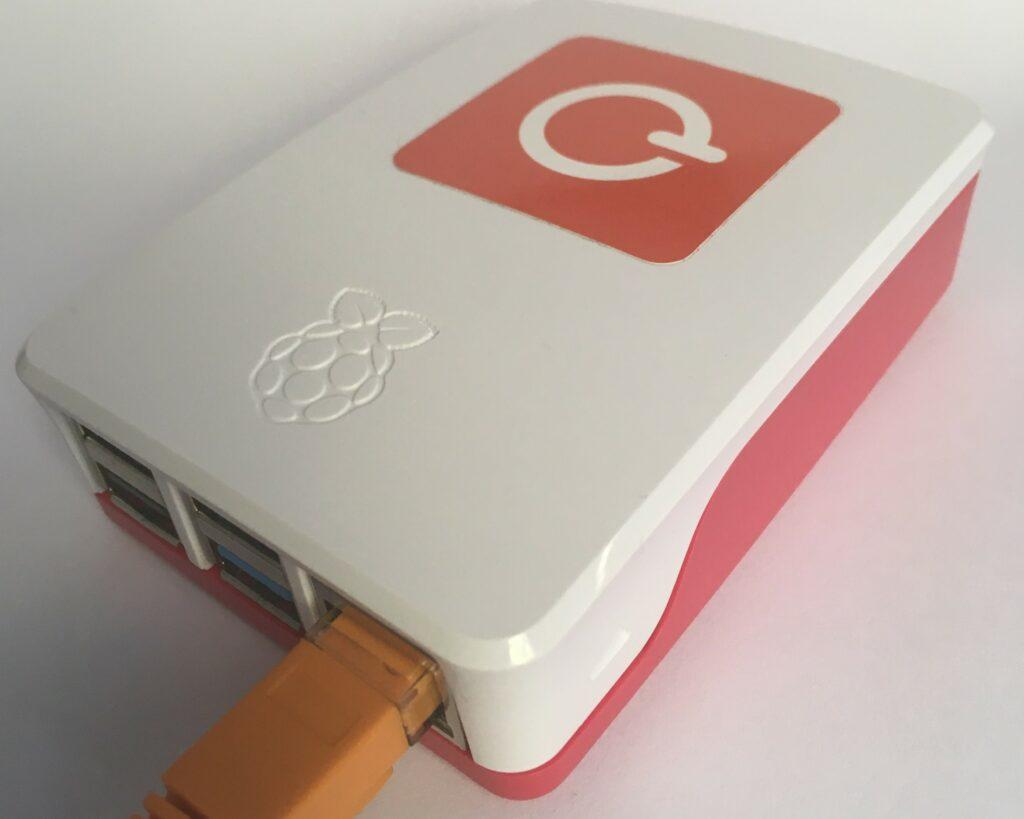
Raspberry Pi
(recommended)
Use a Raspberry Pi 4 or Pi 5 to run eBlockerOS continuously. This is the best option.
Install your own eBlocker in just a few minutes without any technical knowledge. All you need are a few components, available online.
👉 Follow the installation instructions on this page.
Virtual Machine
for Win/macOS/Linux/VMs
Install eBlockerOS without a Raspberry Pi on Windows, macOS & Linux in a virtual machine.
eBlockerOS also runs in virtual machines on Synology, Qnap, VMware, HyperV, Proxmox, Unraid and more.
👉 Follow these instructions to install eBlockerOS for virtual machine
Boot on PC
direct boot, no OS needed
Boot the PC directly with eBlockerOS with no extra operating system to turn it into an eBlocker.
We recommend this installation only for ThinClient PCs in continuous operation due to the lower power consumption.
👉 Follow these instructions to boot eBlockerOS directy on PC
The instructions below are for Raspberry Pi only.
Build eBlocker using a Raspberry Pi
What you need
- For eBlockerOS 4.x (64-bit): Raspberry Pi 4 or 5 (min. 2 GB RAM)
Recommended buy: Raspberry Pi 5 with 4 GB RAM
Please note: Raspberry Pi 2 and 3 are only supported by eBlockerOS 3, which is no longer recommended. - Suitable micro-SD card (min. 8Gb, Class 10 or higher)
- Suitable power supply unit (min. 3A, otherwise you might get issues)
- LAN-Cable
- Free LAN port in your router or switch
- PC/Mac with SD card reader
- The instructions below (please follow carefully)
Instructions
Overview
- Download eBlockerOS
- Install eBlockerOS on SD card
- Connect eBlocker to LAN
- Configure eBlocker
1. Free eBlockerOS Download
Since December 2025, eBlockerOS 4 (64-bit) has been integrated into Raspberry Pi Imager. It is no longer necessary to download the eBlockerOS image separately in order to write it to an SD card. The latest image is always loaded automatically. Go to step 2.
For older devices and the “White Cube,” you can download the older eBlockerOS 3 images here:
Downloading the eBlockerOS 3 image is not recommended for Raspberry Pi 4 and 5 with at least 2 GB RAM. For these devices, eBlockererOS 4 is available in the Raspberry Pi Imager (see instructions below).
For users of older Raspberry Pi (2 or 3) or devices with less than 2 GB, the download is still available here. For security reasons, long-term operation of eBlockerOS 3 is not recommended, as version 3 no longer receives security patches.
eBlockerOS 3 images (released January 2024)
eBlockerOS for Raspberry Pi 2, Pi 3, Pi 4 (709 MB)
Hardware requirements: min. 1GB RAMSHA-256 Checksum: aa500de6c9787468cb5680ed6d06e4007f4794c546a950f35f0b721a8fbe6b0b
eBlockerOS for Banana Pi M2+ (568 MB)
For the M2+ board of the eBlocker “White Cube” only (other Banana Pi M2 models do not work). Download only for DIY enthusiasts!SHA-256 Checksum: 07d15eb5d41c6f09f2d866540ee7e102a3a5d0365f6d2ba4bec199a584c62e97
2. Install eBlockerOS on SD Card
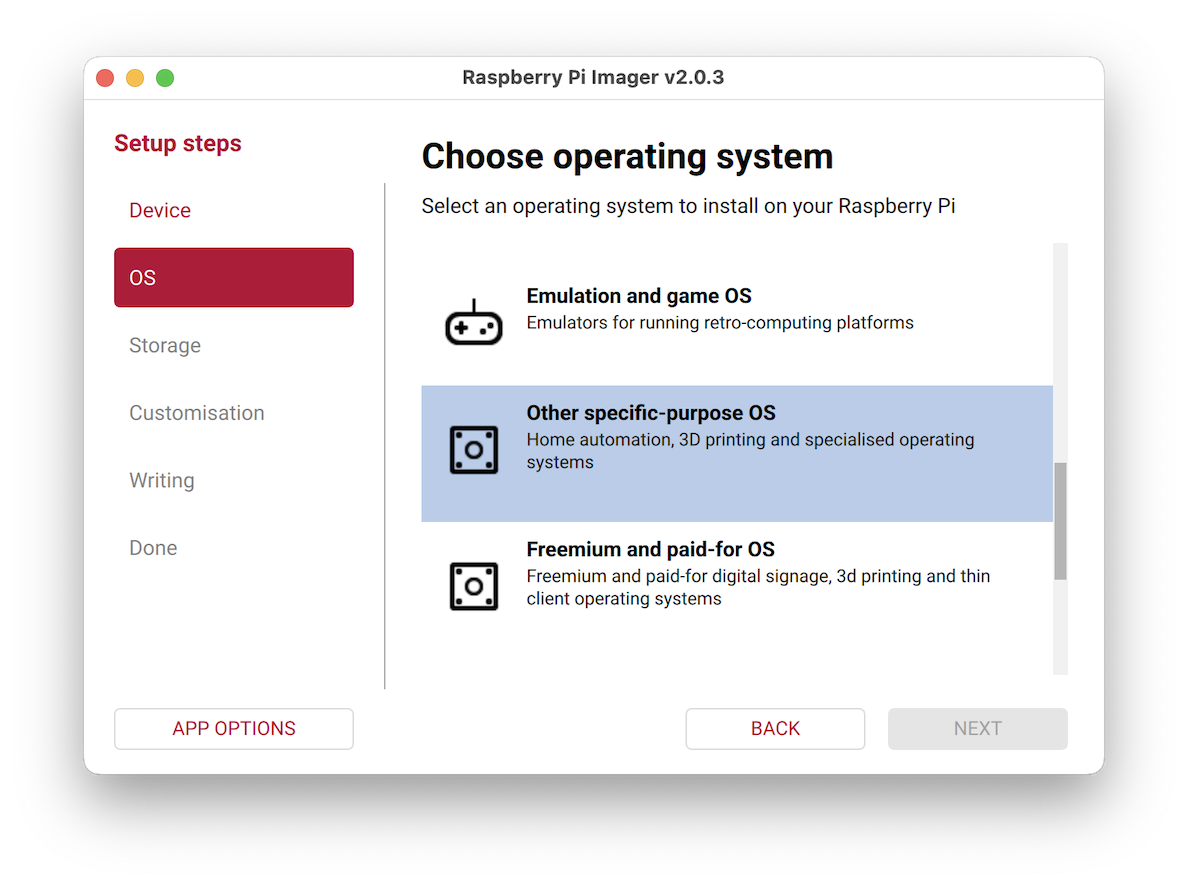
- Download the Raspberry Pi Imager for your operating system and install the program.
- After starting the Imager, select Raspberry Pi 4 or 5. Older devices are not supported.
- Then select “Other specific-purpose OS” as shown in the screenshot.
- Scroll down the list to “eBlockerOS” and click Next.
- Then select the SD card and the writing process will begin.
3. Connect Raspi to Network
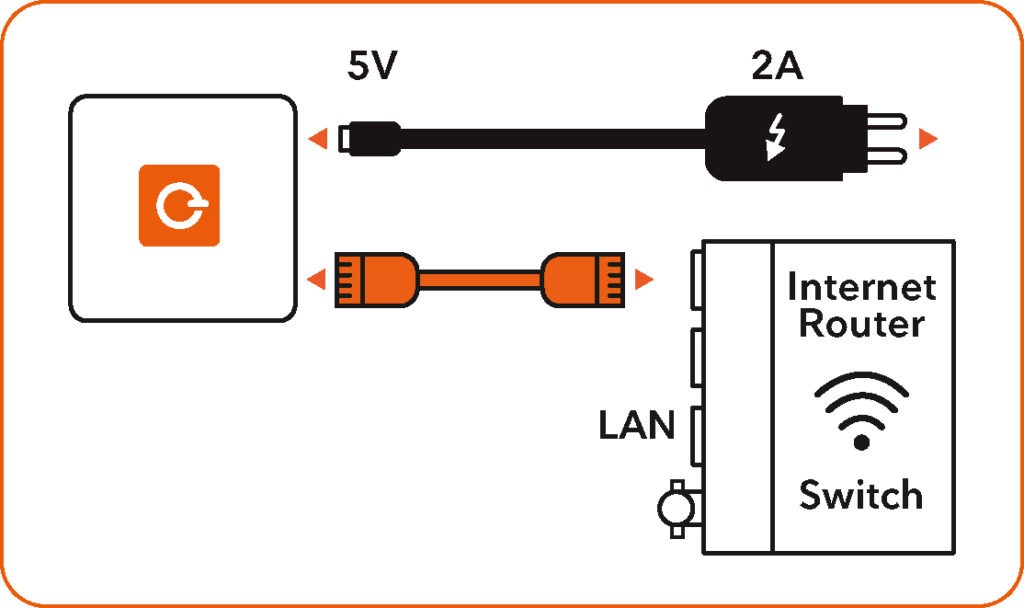
Install the prepared SD card in your Raspberry Pi. First connect the Raspi to a free LAN port of your Internet router or switch using the LAN cable.
Please do not connect a monitor or keyboard!
Let’s go: Turn on your Raspi and hook it up to the power.
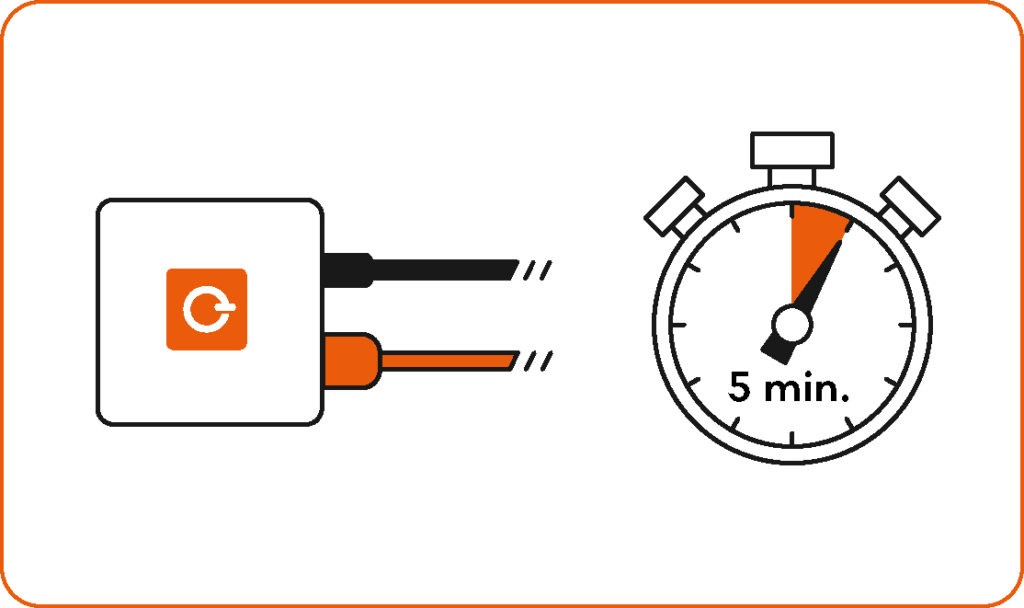
Wait at least 5 minutes until eBlockerOS has started up and configured itself. Depending on the Raspi model used and the number of network devices, the first start may take some time. Please stay patient 😉
4. Network Configuration

If you have an Apple iOS device, we recommend to use our eBlocker iOS App for the initial configuration:![]()
![]() It will automatically find the eBlocker in your network and the following URL will be called in Safari.
It will automatically find the eBlocker in your network and the following URL will be called in Safari.
Alternatively use any browser with http://setup.eblocker.org (not https). If everything works, the eBlocker icon automatically appears in the upper right corner of the screen.
You can see that the eBlockerOS is active and protects you. With a click on the icon the eBlockerOS Controlbar opens and allows you to further configure and access your control center. You can find your personal eBlocker Dashboard at http://eblocker.box, as soon as the eBlocker is active.
Important
You can also always reach your eBlocker via its IP address in case the mentioned options do not work.
5. Enter License Key
With the following (in eOS 2.5 already prefilled) license key you can activate your eBlocker for free and permanently for all features:
FAMLFT-OPENSOURCE
License key for eBlockerOS with all features
Your eBlocker will get free manual updates which you can update anytime. As a gratitude for a donation of only 5€ per month, you will receive a license key for daily automatic updates. So you don’t need to care about anything. Using your donation, we can cover the operating costs for the infrastructure and commercial filters. Today we offer the same level of protection as the former commercial eBlocker.
6. Getting Started
Please follow the setup instructions in our knowledge base. All important points will be explained step by step. Please note that the initial configuration may take a while and take your time: It’s worth it 😉
7. Support and Technical Issues
Here you find all help information collected. If you can’t find an answer there, feel free to ask your questions in our forum, where experienced users help others.
Unfortunately we can not offer individual support by email or phone. All forum questions are usually answered within 24 hours.